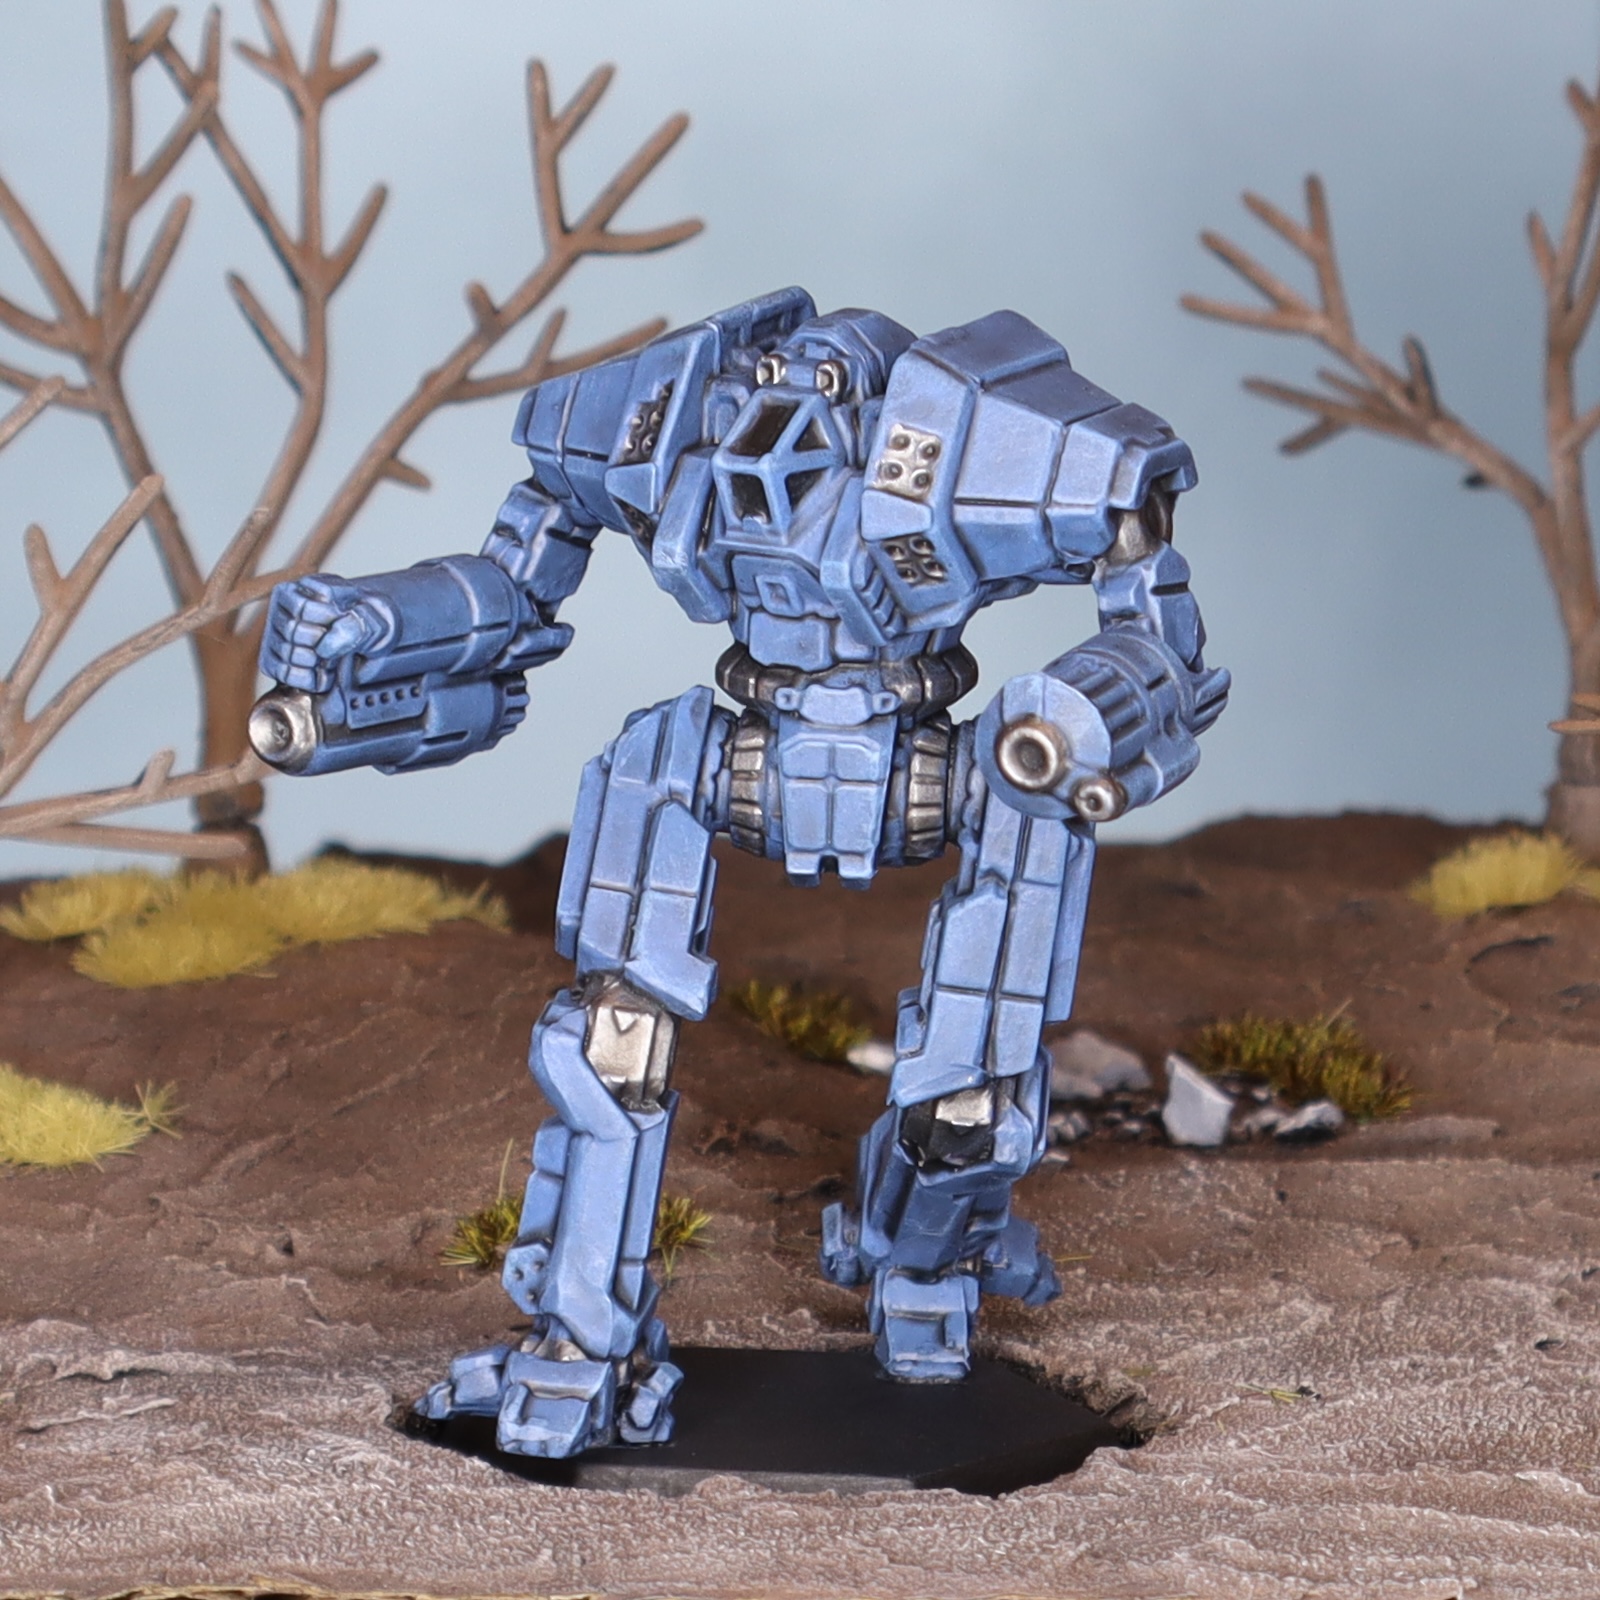
If you’ve never painted miniatures before, knowing where to start can feel daunting. Which paints should you buy? What tools do you need? The good news is that you can get started with a couple basic supplies and 3-4 paint colors.
Techniques Covered in this Guide
- Priming
- Basecoating
- Washing
- Drybrushing
Supplies Needed
Basing Brush: choose a nice, wide brush. Base coating is really hard on brushes, so this is a good opportunity to use an old beat up brush if you have it.
Size 0 Brush: this is your detail brush. Your Local Game Store (LGS) or hobby store should have one. No need to break the bank on this, pick up a cheap one to start with. When shopping, check the bristles. You want to make sure they come to a nice, clean point.
Drybrush: the best drybrush is actually an eyeshadow brush. You can get these at any store with a makeup section.
Primer: I use Army Painter (AP) spray primer. Gray is a solid choice for a beginner. If you want something that will carry you through future guides, get black. Early on, I tried using Rust-o-leum etching primer because I saw it recommended on Reddit. This is a solid choice for metal minis. If you are painting plastic minis, I would avoid this and just get primer from AP or another mini painting brand.
Paint: Miniatures are usually painted with acrylic paint. There are oil-based miniature paints, but those are beyond the scope of this guide. For this project, we will be using basic acrylics. You will want to get some made specifically for miniatures: they are more highly pigmented and stand up better to being thinned, which is important later. Brands such as Pro-Acryl, Army Painter (AP), Vallejo, Two Thin Coats (TTC), and Citadel are what you’re looking for. For the miniature I paint in this guide, I use TTC’s Elysium Blue and Doom Death Black, and AP’s Matt White and Gunmetal. When selecting a primary color, keep in mind that white, black, and yellow are particularly tricky colors to work with, and will have their own guides in the future. Avoid paints labelled “contrast”, “speed paint”, or “air” for now; those are specialty paints that will be covered in another guide.
Wash: a wash is a special paint that has had thinner added to it. The result is a very runny paint that pools in the cracks and crevices of your miniature to accentuate its details. Citadel’s Nuln Oil is perhaps the most popular option, but all miniature painting brands make a version of this and they’re all serviceable. A good rule of thumb is that cooler colored minis should use a black wash and warmer colored minis should choose brown or sepia. As you get further into the hobby, feel free to experiment and figure out what gets you the results you like best. For this tutorial, I am using Nuln Oil.
Top Coat: the top coat you use is a matter of personal preference. Some people prefer a gloss coat, but I find that matte or ultra-matte photographs better so that’s what I use.
Palette: in the future, it is worth investing in a wet palette. If you’re just getting started, a dry palette or paper plate is fine.
Rinsing Cup: this is for water to rinse your brushes in. Don’t use anything you want to drink out of later.
Paper Towels: you’ll want to have a square of paper towel handy for dabbing off water or extra paint, or cleaning up messes.
Miniature: For this guide, I will be painting a plastic BattleMech miniature called a Ymir, from the Proliferation Cycle Force Pack.
Step 1: Prepare your mini
Before painting, the mini needs to a coat of primer. This helps the paint adhere to the mini; without it, the paint will not spread evenly and will look spotty.
Before priming, you may want to remove any mold lines on the miniature, though this is entirely optional for a beginner. If you choose to, carefully scrape them off with the edge of a sharp hobby knife.
When priming, you want to make sure to coat the entire mini. Give it a pass on each side, then allow to dry. After that, lay it flat and spray the underside. Allow to dry, flip, and repeat. When you are finished you should have a nice, even coat like this:

Step 2: Apply your base coat
The primer is dry, but before you can start painting you need to thin your paint. Squeeze a small amount of your preferred color onto your palette. Then, using your brush, transfer a small amount of water from your rinsing cup to the paint and mix it together. You will want to repeat this process until the paint is about the consistency of whole milk. If you want to make really sure, use your size 0 brush to apply a thin line to the back of your hand. You want the paint to be as thin as you can make it without it bleeding into the texture of your skin.
Different brands will require different amounts of water to get to the right consistency: I’ve found that Citadel, Pro-Acryl, and TTC need less water, while Army Painter tends to need more.
Once your paint is thinned, you can begin applying it to the mini. Using your large brush, apply the color to your mini in an even coat, making sure to get it into the cracks and crevices. Don’t forget to paint in the armpits and groin area. You will likely need to apply several coats, especially if you primed in black. Once dry, it should look similar to the image below.

Step 3: Apply your wash
When you apply your wash, it will run into the crevices and give your mini the illusion of shading. This will stain your base coat, changing the color tone slightly. If you want to reduce the amount of staining, you may give the mini a coat of gloss varnish first: this makes a slicker surface that is easier to dab excess wash off of.
Using your basing brush, apply a small amount of wash at a time. I like to focus on discrete segments of the mini, then break to dab off excess wash from the surface. You can do this by wiping your brush dry on your paper towel, then using the dry(ish) brush to soak up the large pools that collect, leaving a small amount of wash in the crevices. Once done, move on to the next segment of the miniature and repeat.
The paint scheme is really starting to take shape now. Good work!

Step 4: Apply highlights
This is the step that will really make your mini stand out. Begin by mixing a small amount of your base color with white. A 50/50 mix is appropriate for most colors. I find this step is easier if you do not thin this mix.
Dip your drybrush or eyeshadow brush into the paint and then wipe it off on the paper towel. The goal here is to make sure that there is a minimum amount of paint left on the brush. Continue wiping until the brush is as dry as you can make it.
Next, gently swipe the brush across the edges of the mini, with your brush at a 45 degree angle to the surface where possible. You will notice the lighter color collecting at the mini’s edges, which really makes the details start to pop.

Step 5: Paint details
This is one of the most daunting parts of painting the miniature. If you want to stop here, that is perfectly okay. Paint the base black and you will have a perfectly good mini to play at the table with. If you want to go a step further, however, you can paint the weapons and joints with your metallic paint. You can be a little creative, here. Some painters choose not to paint the joints, or to paint them in a non-metallic color, as that is more realistic in terms of how military equipment is painted in the modern day. You can pick and choose which joints you want to paint, or how much of the weapons you want to apply color to. Keep in mind that metallic paints also need to be thinned, just like you did with your base coat.
Once you’ve painted these details and allowed them to dry, add another coat of wash to these locations.
Once the wash is dry, put some solid black on your palette. Thin it appropriately. Apply a small dot to the barrels of your weapons, and fill in the areas of the cockpit where the viewports should be. Use this same black to paint the base.

Step 6: Apply top coat
This step is pretty straightforward. Make sure to shake your top coat / varnish first; if you don’t then the varnish can look glossy when it’s supposed to be matte (unless, of course, you’re using gloss varnish). As with paint, thinning the varnish is usually appropriate, but it can depend on the varnish. If you’re uncertain, you can apply it to a tiny part of the mini as a test patch first.
Step 7: Take a picture and show your friends!
This is one of the most crucial steps for improving. Put your work out there, ask for feedback. Find painters whose work you like and ask them for critique or pointers. It can be scary, but it will help you improve your painting much faster than going it alone. And you will meet lots of cool people who also enjoy painting! Places like the ‘Mech Painters Union are perfect for this. Swing on by their Discord server and say hi!

Patreon
If you liked this guide, and want to see more, please consider backing me on Patreon. Just $5 a month can help me improve the blog and keep the lights on.
One response to “Painting Guide: Beginner’s Scheme”
Excellent guide! Keep up the good work!